I LOVE this quote. Our home is decorated in Nativity and advent calendars for Christmas and this quote fits right in. And in all honesty the only hints of Santa are a few ornaments on the tree and my baking apron. This year has been SLAMMED with so much happening that the only thing I could do was print it off and put it in a frame. I do however have plans to cut this out in vinyl, put it on a board and hang it up in my home. I may even leave it up all year as it really is my favorite quote and every time I read it, it helps me put my life back into perspective.
Showing posts with label Christmas. Show all posts
Friday, December 13, 2013
Wednesday, September 4, 2013
Ribbon Board
In a Christmas swap, my friend Ann Marie made me this ribbon board. It will look great with all of our cards tucked into it for the Holidays. I have seen them at the store, but never thought to make my own. After looking at hers and THIS tutorial I found, it seems VERY simple and creative to make!
Tuesday, September 3, 2013
Reindeer Ornaments
My friend Tanys made me a super cute Reindeer ornament in an ornament swap. Seriously, where does she come up with these amazing ideas?!
I cannot give you exact directions on how to recreate them. However I can tell you that she used regular round ornament. She then used a type of clay for the ears and feet and either clay covered in glitter or a glitter button nose. She then painted the entire thing in brown, added the cute wire antlers and hand painted the details.
This is one of my FAVORITE ornaments on my tree every year. It's adorable, and one of the most crafty and cute things on my tree!
Reversible Cup Cozy
I don't drink coffee, but do enjoy a nice cup of hot chocolate every once in a while. So when it came time to do a 'sewing' swap, I decided to whip up a few of these for my crafting buddies.
They hare reversible with a button latch and once you get the idea, are pretty easy to make. I recommend making a bunch of them in a huge batch and then holding onto them as they make great gifts and stocking stuffers. Just imagine one of these around an empty Starbucks cup with a gift card inside! Simple, cute and something everyone can use!
Items Needed:
1. (2) different fabrics (if you want them reversible).
2. A sewing machine!
3. (2) buttons (one for each side)
4. An elastic hair band
5. Felt (inside 'batting')
6. Scissors
7. Thread
8. Iron
Directions:
I did not whip up this pattern all by myself. I actually followed a tutorial I found and tweaked it to my tastes. The tutorial can be found HERE as credit should go to those who actually put the time and effort into making such a tutorial.
As you'll note, instead of batting, I used felt. I found that it held it's shape better than ordinary batting and absorbed the heat! I also added a button to each side to make it reversible.
Sunday, July 14, 2013
Christmas Countdown Muffin Tin Calendar
I started this craft a few years ago and finally just finished it. I think it turned out amazing.
Have you heard of muffin tin calendars? No? Then Jump on board and make one for yourself.
Items Needed:
(1) Mini 24 count muffin tin
Scrapbook Paper
Embellishments
Vinyl lettering (purchased or made yourself)
Mini Magnets or a magnetic roll
Number stickers
Hole Punch
Glue Dots / Zots
Glue of your choice
Directions:
1. Cut (24) 2" squares from solid card stock
2. Cut (24) 1 3/4" squares from festive card stock
3. Attach the festive card stock to the solid card stock
4. Add embellishments to each square using stickers, paper, ribbon, etc.
5. Add number stickers to each square.
6. Using mini magnets that you purchased attach four to each square (one on each corner).
If you did not buy any, then you get to make your own (like me)! Roll out your magnetic roll and using a single hole punch, punch out tiny magnets. This will make the perfect size magnet. Now GLUE your magnet to the paper. The adhesive that comes with the magnet is not strong enough.
7. Using pre-purchased vinyl or a cricut or silhouette attach the words Christmas Countdown to your muffin tin. Mine were 3/4" tall as that is what fit best on my muffin tin.
8. Now attach the squares to your muffin tin.
9. When it comes time to use it, hide a note or treat in each hole for your children/spouse/friends to find. Open one a day until Christmas!
Saturday, July 13, 2013
Button Wreath
I love button art. I love how subtle it is and how elegant it can be. For a Christmas themed swap I made my girls button wreath. Each one was slightly different but overall the same basic idea.
Items Needed:
10" Canvas or 10" wooden board
Scrapbook Paper
Buttons
Adhesive or Glue of choice
Ribbon
Modpodge
Glue Dots / Zots
Directions:
1. Cut scrapbook paper to fit canvas/board. I chose to cover the edges of my board with paper as well.
2. Modpodge paper to canvas/board and allow to dry.
3. Using 3 different sizes of buttons, begin with a center circle. Mine were 16 small buttons to create my center. Glue them in a circle, center to your canvas/board.
4. Once your inner circle is glued down, begin with the next size of button and go around the first button ring, gluing down all your buttons.
5. Once you have two rows of buttons down, using your largest buttons, glue down your third row.
6. With your ribbon, tie a bow to your preferred size.
7. Using Glue Dots/Zots attach bow to top button. (I originally tried to glue the bow on but that did not work.)
Sunday, June 23, 2013
Wooden Block Picture
So this concept can be used for any photo. I however LOVE LOVE LOVE this photo of Christ's hand making the sign of I love you and showing his nail print. I think the message is so simple and so powerful that I can't help but continue to make these for everyone I know. The best part is that they work for just about any holiday. Christmas, Easter, Valentines etc. I've made them in two versions. The black with red ribbon and the gray with gray/silver ribbon.
Items Needed:
2x8" board
5x7 Photo of choice
Sand Paper
Paint color of choice
Wired ribbon of choice
Glue Dots or Zots
Directions:
1. Cut 2x8" board into 9" length pieces.
2. Sand board edges as they will be rough. Also sand out any rough spots in the wood.
3. Paint the entire block using your paint color choice.
4. Once dry, if you choose (see left block) sand edges to give it a distressed look. If you do this, ensure that you wipe the block very well before attaching photo.
5. Using 5x7 photo of choice, put glue dots or Zots on the back along the edges of the photo and attach to wooden block. If you want to use the same photo I did, then order it from the actual artist (Don't Steal!). It can be ordered from Darin Ashby and will take a few days to arrive.
6. Attach wired ribbon to block to add an extra element to photo.
Candle or Cookie Jar Wraps
My friend Jenine sent this to me during a craft swap and I thought it was PURE GENIUS! These are wraps for large Jar candles like Yankee Candles or large mason jars that you would do cookies in a jar for gifts. You simply wrap this around the jar and it covers the label and turns your candle from an advertising scheme into a cute addition to your home - or adds that extra festive touch to any mason jar treat!
These are something that I will certainly be making for this Christmas and all the gifts we give out. Simple, EASY and SUPER SUPER SUPER cute!
Items Needed:
Fabrics of your choice
A sewing machine (or hand stitch)
SEW ON Velcro
Embellishments
Needle point floss
Directions:
1. Cut large piece of fabric out to be 16 inches x 5 1/2 inches
2. Cut short piece of fabric to be 4 inches x 3 inches
3. Fold edges over 1/4 inch twice (on top of itself so you don't see actual edges) and iron down. Once all four edges are folded and ironed, sew them together.
4. Cut sew on velcro to be 3 inches long.
5. Sew velcro onto fabric. One piece (the soft side) is sewn onto the front LEFT of fabric. Now flip the fabric over and sew the other piece (rough side) to the Back LEFT of fabric. Velcro should be on opposite sides and opposite ends when done.
6. Decide on what you want the wrap to say. Then using needle point, stitch it into your small piece of fabric. Add any embellishments at this time.
7. Sew small piece of fabric onto Large piece of fabric centered.
Friday, February 1, 2013
Christmas Countdown
I decided to whip these up from a kit I purchased over Thanksgiving. I debated on how to do them for quite some time. Paper accents, rough edges, colors etc. I had the supplies to do them all different ways and finally decided that I wanted simple. Plain colors, basic, roughed up and perfect. Though mine came from a kit, you could easily whip this up yourself.
Items Needed (if you made this yourself and not from kit):
(2) 5" x 5" wooden blocks. These can be cut from a wooden fence post.
(1) 2x4 cut to be 11" long
Paint colors of choice
Paper (if you choose to add paper)
Stickers or Vinyl. (Mine is vinyl)
Sand Paper
Directions:
1. Once your wood is cut, sand the edges and rough spots.
2. Paint blocks and base color of choice.
3. Add paper to blocks and base if you choose
4. Sand edges to give a distressed look if you choose.
5. CLEAN blocks and base VERY WELL.
This is to ensure there is no dust on blocks before placing vinyl/stickers on.
6. Place Vinyl / Stickers onto blocks and base.
Thursday, January 24, 2013
Cards
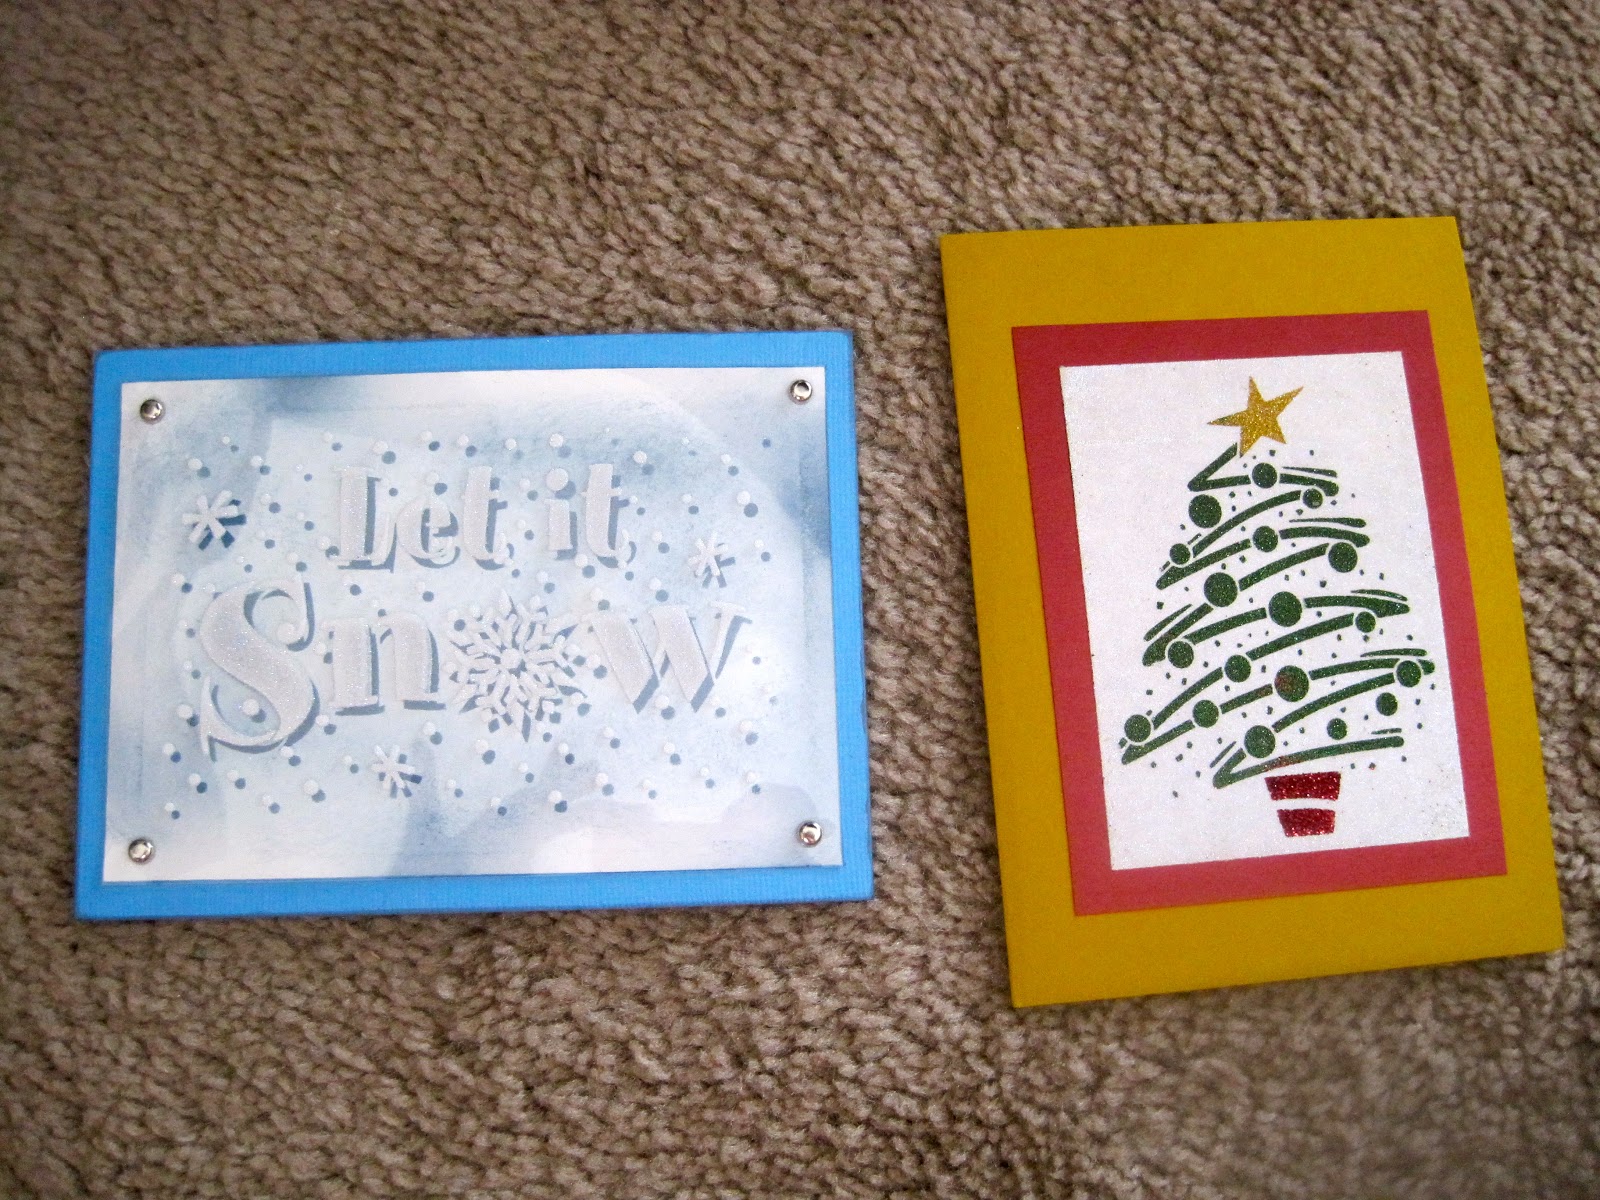
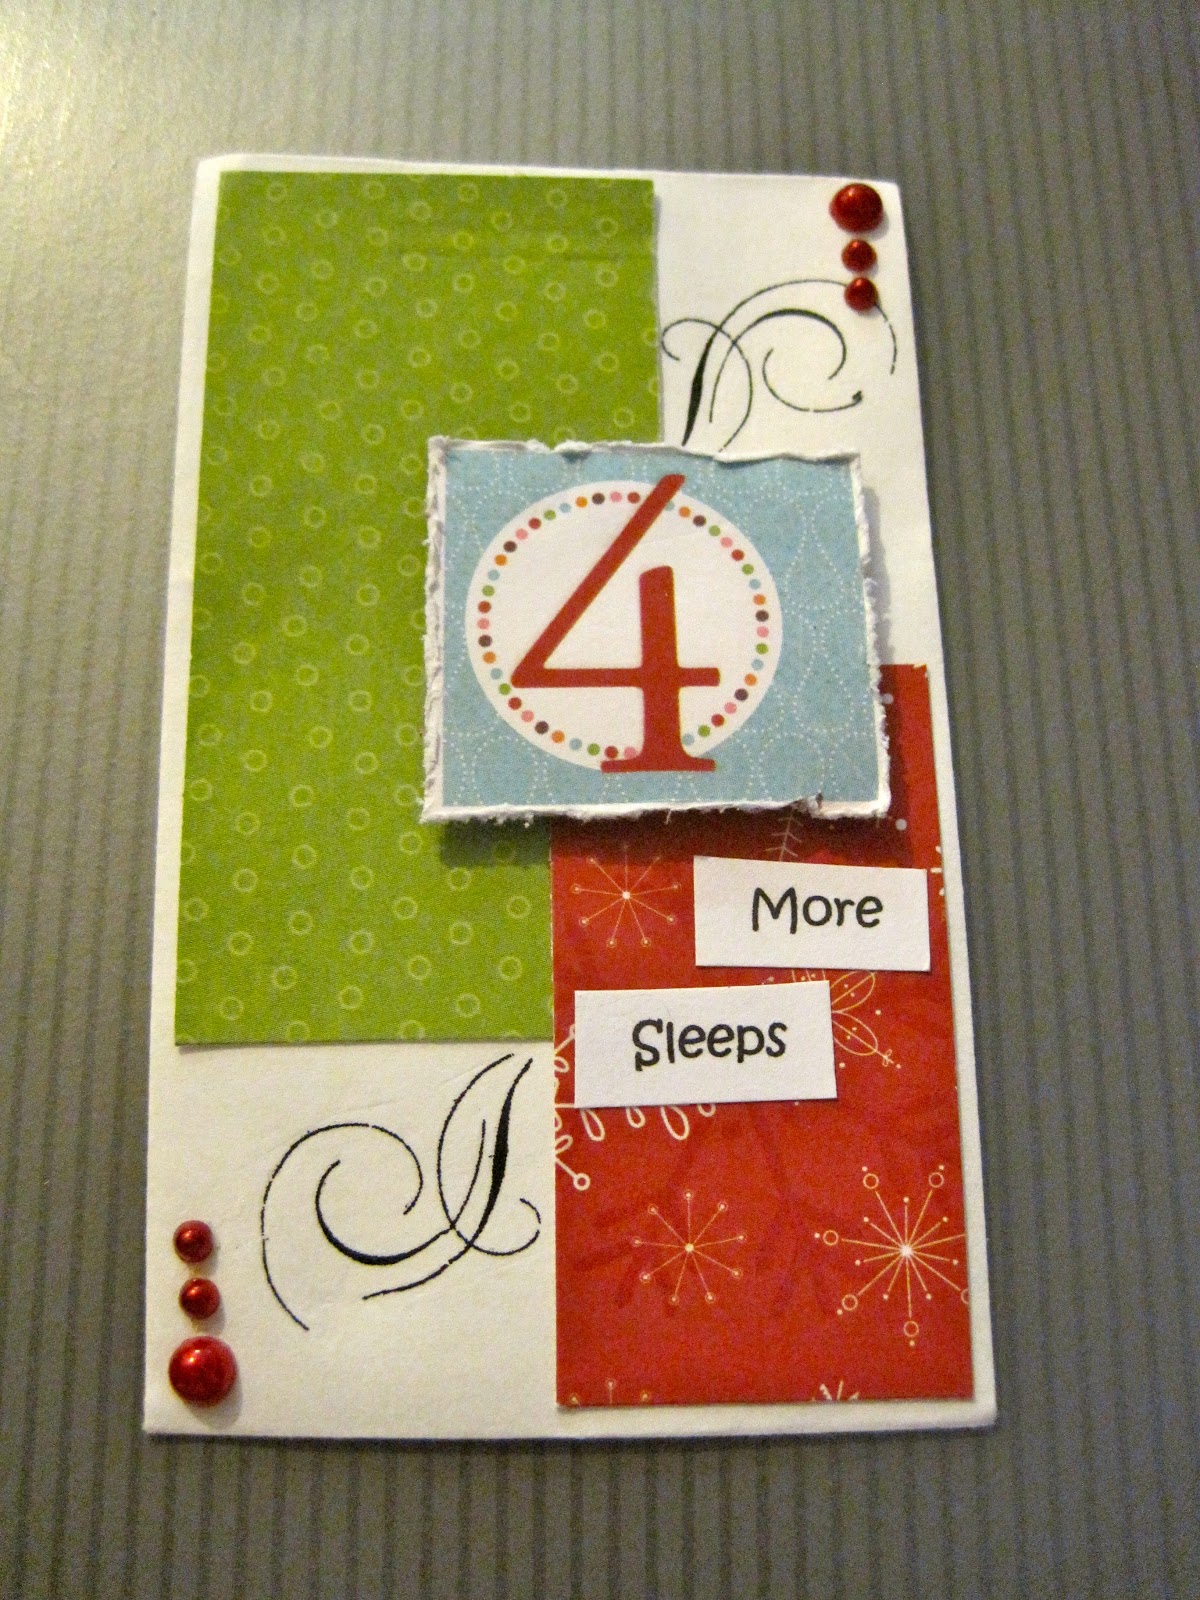
I've made a lot of cards over the years and received a bunch too. Most I've not taken photos of. However, I do have these gems.
the top two my friend Tanys made for me in a Christmas swap. I love the designs, and the technique used. However, I can't remember what the technique is called.
The Snowman card is one that she and I made in mass quantities for Christmas one year. I love them!!
The Wedding card is one we did for a card swap (we each chose 4 themes and made cards and then swapped. It's simple, elegant and holds just the right amount of perfection for my taste.
Thursday, January 17, 2013
Tile sign
Unfortunately, this is something I purchased before my true craftiness came to life. But it is SOOOOO easy to make and I've had several friends copy them after seeing them.
I purchased three words. Faith, Hope & Charity. In reality, the cost of buying them was about the same cost as making them as they were SOOOO cheap. And I love them.
So how do you make them?
Items Needed:
3" tiles (found at any Home Depot or Lowes)
Wooden board - 2x4 would be perfect.
Gorilla Glue
Vinyl Lettering
Ribbon
Drill
Paint & Brush - color of your choice
Directions:
1. Cut 2x4 to desired length (depends on the word you are spelling out)
2. Sand wooden board. If you want to be extra fancy you can miter the edges also.
3. Paint board color of your choice.
4. Clean the tiles really well. You do not want any dirt or residue on them.
5. Once the tiles are DRY apply vinyl lettering (can use Cricut or Silhouette or purchase)
6. Attach tiles to board (evenly spaced) using gorilla glue. NOTE: Gorilla glue EXPANDS, so a little goes a long way!
7. Drill two holes at the top of board.
8. Attach ribbon so that it can hang.
Ornament
My friend Georgia made this ornament for me during a Christmas craft exchange. And thought it would be a GREAT project for anyone, but especially kids to make as christmas gifts.
It's so easy and so cute and looks great on our tree. Print two candy canes on card stock (or any image). Cut them out. Color them and tape a picture behind it and shizam, you have a great and fun christmas ornament.
Quick Aprons
I am a very visual person, and as a general rule of thumb can look at most crafty things and reverse engineer them in my head and recreate them. And when I sew I NEVER use a pattern. Probably for the main reason that I have no idea how to use a pattern. :)
My friend Erin made me this apron during a Christmas craft swap. I love it. It's simple, cute and comes with a pocket. I've never made aprons before, and after looking at this and how stinkin EASY it looked to make, I decided to make them for several people for Christmas. Girls got green ones, boys got marvel ones and there were even a few for kids too.
Unfortunately I didn't take measurements and so I can't give you a proper tutorial. However, a good rule of thumb is to cut the fabric knee length and all the way around the waist so it covers your hips. Since we are each different sizes, just use that a a good rule of thumb and you too could recreate this amazing gift!
Saturday, December 1, 2012
12 Days of Christmas
My friend Tanya made this for me a few years ago. It was so fun to open it each day and to see what fun little treasures are inside. Now my goal is to try to convince my husband to fill it for me each year.
Christmas Banner
My friend Tanya made this Christmas banner.
How simple and easy and it adds the perfect touch of Christmas to our home.
It's done with 100% paper and ribbon!
Door Note for Santa
My friend Julia made this note for us to hang on our door for Christmas Eve.
It's so simple and cute and brings Christ right back into Christmas. And it's a great way for Santa to come visit those who do not have a fireplace.
It's a note with a key attached that says:
Dear Santa,
This Magic Key works just for you,
Please open the door and come on through.
Thank you for coming to our house tonight,
We are celebrating the birth of Jesus Christ.
Thank you Santa for the gifts you bring.
Thank you Lord for everything.
The Heath Family
Homemade Ornaments
My Mother-in-law made these last year for our daughter. I love them and thought they were a great idea. The top one is a candle and the bottom one is an angel. A homemade Christmas ornament is something that she will always remember and cherish. (Even if she calls them donuts.)
Santa Apron
My friend Julia made me two santa aprons!
These are so cute AND so easy to make.
Items Needed:
Red Apron
White "fur/fuzz" fabric
Yellow Fabric
Black Fabric
Iron
Sewing machine or needle & thread
Directions:
1. Cut the white fur/fuzz to be the exact size of the top of the apron.
2. Sew the fur/fuzz on.
3. Using black fabric, cut width of apron + 36 inches in length (18 inches for each side), and approx. 4" wide.
4. Fold black fabric 1" on each side (width) and iron down. Then sew together. This should make your black "belt" 2" wide by 36+ width of apron long.
5. Sew black belt onto apron - make sure it is center.
6. Cut out a 2 1/2" yellow square.
7. Cut out rectangle center of square.
8. Place the yellow fabric square on center of black belt and sew down.
Subscribe to:
Posts (Atom)