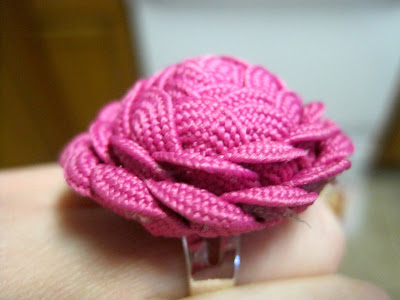
I made these a while back for friends in a craft swap. I made mine pink, and theirs teal. They were really quite simple and cost less than $5 each. I love how it makes any outfit pop and adds that perfect touch.
I'd love to do a tutorial for you, but that would take up way to much time. Plus there are loads of great tutorials on the web. Mine are the no-sew kind and takes 30 minutes to make.
Items Needed:
SMALL Rick Rack of your choice (found at Walmart)
Ring base of your choice (found at Michaels)
Hot Glue Gun
Scissors.
Directions:
1. I can't remember the exact length, but I think it's around 20". Cut a 20" length of rick rack.
2. Fold rick rack over and cut in half.
3. Braid rick rack together. It will tend to roll and that's ok. Just braid the two pieces together. (This is where you can find a tutorial online).
4. Once rick rack is braided begin rolling rick rack into itself. Every 1/2 inch or so, plop a TINY BIT of hot glue down. I have found that it works best if you literally just roll the rick rack rack into a tight wad. It wont look like a flower at first, but just go with it.
5. Once you have rolled the entire rick rack upon itself, gluing ever 1/2 inch or so, then glue the end UNDER the "flower". You'll want to leave yourself a 1/4 inch or so to do this.
6. Using your hot glue gun and fingers, peal back each "petal" on the outside of the flower. Using a dab of hot glue, glue down the petal. If you don't do this, you will find yourself CONSTANTLY rolling the flower petals out. This helps them to stay out. Do this for last two rows.
7. If you feel your rose is too flat, gently adjust it so that the center is raised a bit.
8. Glue the rose (using a generous amount of hot glue) to the ring base.


No comments:
Post a Comment