As a child on the last day of November, we'd whip out the construction paper and glue and make ourselves and Christmas Countdown Chain. You know the kind with 24 loops all strung together. Each day of December you'd rip one off counting down the days until Christmas would arrive!
I decided last year that I wanted to make one for myself. I had looked all over the internet for a tutorial and didn't find one. I did however find something similar on Etsy, but it wasn't the quality I was looking for - so alas I figured it out on my own and think I created a pretty great looking product!
I should probably point out here, I'm not a seamstress and though I took a basic class on sewing, I assure you I remember nothing. I dabble in sewing and so if you follow my "directions" hopefully you wont cringe too much as I use incorrect jargon and make up stuff as we go along!
Items Needed:
1. Fabric. I use 4 different fabrics, but you can use as many as you'd like. If you are using 4 fabrics, get 1/2 yard each.
2. Innards. I tried several things and believe it or not FELT was the best! So 2 yards of felt. (I think this is too much, but seeing as how I can't remember, we'll go with it).
3. Scissors
4. Needles (to hold fabric together)
5. Sewing Machine
6. Fabric Velcro (though I am toying with the idea of using magnets next time)
7. Cute Buttons
8. LOTS of thread. :) Because I make a LOT of mistakes!
9. Iron. The iron is your friend!
Directions:
1. Cut your fabric. You will need in total {48} strips of fabric and {24} strips of felt. I cut mine to be 12 inches long by 3 inches wide.
2. Once everything is cut, now it's time to assemble. Lay your Felt down with Fabric A (green fabric in picture) face up on top of felt. Lay Fabric B (brown fabric in picture) face down on top of green fabric. Pin entire thing down.

3. Sew entire thing together starting on a long side. Leave one of the short sides completely open (as you'll need to turn your fabric inside out later). Remember me saying I'm not a technical or perfect seamstress? Yep. I put my needle as far to the right as possible and line my fabric up with the edge of my foot (see picture). Then sew.


4. Now that all 3 sides are sewn, IRON.

5. Turn inside out so that felt remains in the center.
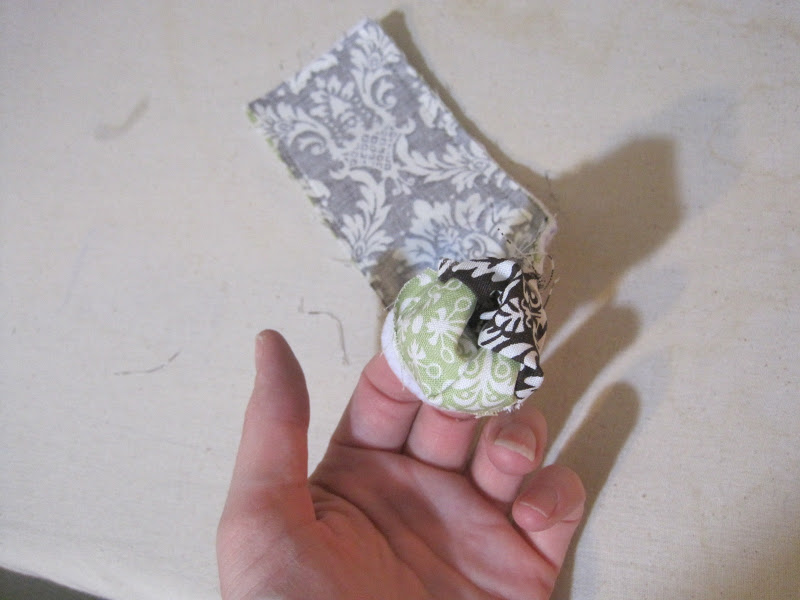
6. Using a dull pencil (or similar object) poke the corners out. (put pencil INTO fabric opening).
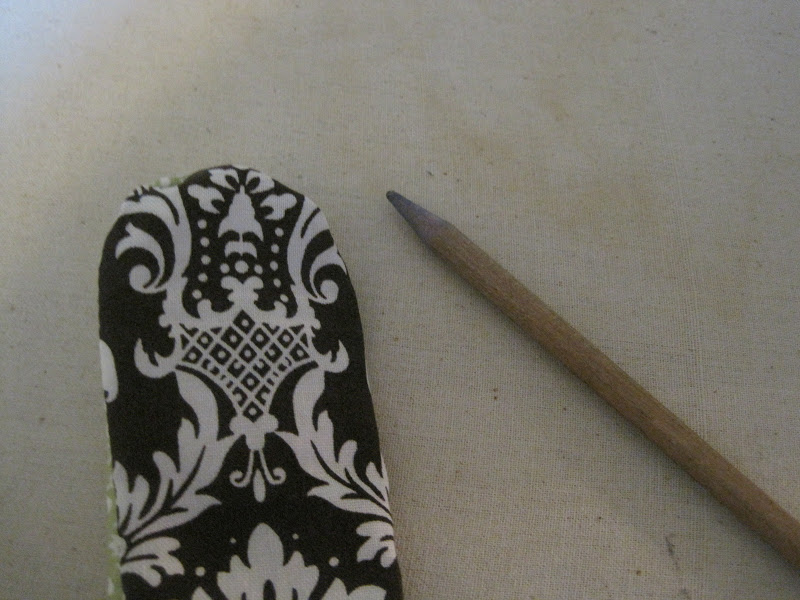

7. Iron. Yep Iron it again and make sure to iron all your edges down.

As you can see, ironing takes a poofy strip into a thin stiffer strip. :)

8. On open end, turn edges inward and iron down.


9. Now we get to sew again! This time turn needle as far to the LEFT as possible. Following the edge of the fabric again (just as before) sew around the ENTIRE strip. As you can see your edge is no longer exposed!

10. Now that all 24 of your strips are sewn down, it's time to add the Velcro. Sew on piece of Velcro onto Fabric A (green fabric below). Once sewn on, flip over and sew opposite side of Velcro onto fabric B (red fabric) but on the OPPOSITE end of the strip. (see photo)


If you did it correct, it should form a circle and Velcro together!

11. Now for the final touch! A cute button! This helps remind me color is the outer color as I like alternating colors on my chain!

When it's done, you'll have 24 great looking fabric chains that can be used year after year! This can also be used for birthdays, or any other Holiday.

No comments:
Post a Comment